Polishing process for a cylindrical lens test plate
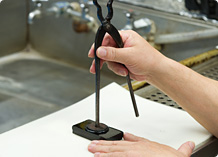
1.Resin (comprised principally of bitumen) is applied to the glass, and a heated iron plate is pressed down on it to fix it in place. The photograph shows the circular iron plate on top, the resin immediately underneath the plate, and the glass at the bottom. The handle of a tool is being used to press the plate down.
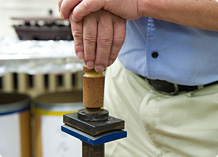
2.The polishing plate is heated, and the polishing resin is pulverized and applied to the polishing plate. Pressing down on the polish-forming plate spreads the resin out. In the photograph the polishing plate is uppermost and the polish-forming plate is at the bottom. After, corrective groves are cut, if required. The resin is selected from the many types available in accordance with the type of the glass and the degree of precision required.
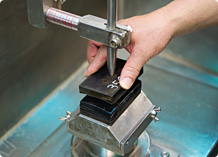
3.The polishing plate and the glass are put in place on the special polishing machine and the polishing commences. The three-stage manufacturing procedure, consisting of "lapping" using a coarse polishing agent, followed by "primary polishing," and then "figuring" (which constitutes the finishing process), serves to enhance the precision of the lenses produced. In the photograph the polishing plate is shown on top of the glass.
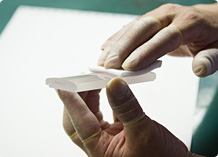
4.The glass is removed from the iron plate and wiped clean of any dirt.
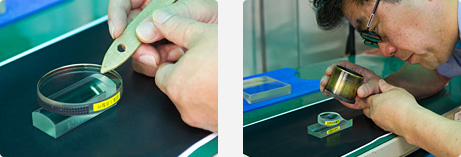
5.Cylindrical lens test plates are manufactured in pairs—one concave and one convex. With a convex cylindrical lens test plate, the technician places a flat-surfaced test plate on the glass, inspects the interference patterns by eye, and checks the precision of the direction of the generating lines. With a concave cylindrical lens test plate, the technician places a convex test plate on the glass, and inspects the interference patterns by eye. If the interference patterns are small, the technician will use a loupe.
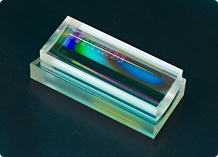
6.Cylindrical lens test plates under production. Precision of both concave test plates and convex test plates should be ensured for overall precision of lenses produced.

