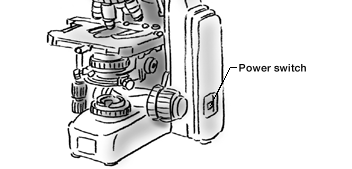
Basic operation
Adjusting the illumination
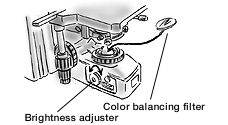
- Place a color balancing filter above the field lens.
- Adjust the illumination to an appropriate level using the brightness adjuster.
Adjusting the interpupillary distance of the eyepiece

Adjust the interpupillary distance until the left and right viewfields merge into one.
Adjusting the diopter
- Align the diopter ring with the reference groove.
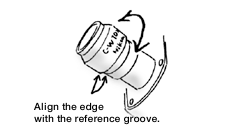
Rotate the diopter ring, and align its edge with the reference groove.
- Place the specimen.
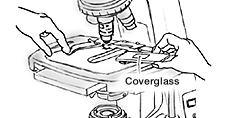
With the coverglass facing upwards, place the specimen on it.
- Focus with the 10X objective.
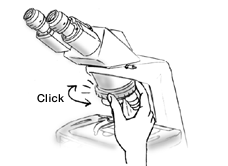
Change to the 10X objective.
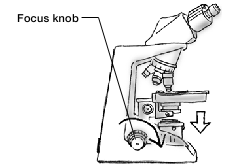
Turn the focus knob and focus the specimen.
- Focus with the 40X objective.
- Change to the 10X objective.
- Adjust the diopter ring.

- With the right eye look into the right eyepiece and adjust the right diopter ring until the specimen comes into focus.
- With the left eye look into the left eyepiece and adjust the left diopter adjustment ring until the specimen comes into focus.
- Repeat steps 4 to 6 again.
Field diaphragm focusing and centering
- Turn the 10X objective into the light path.
- Close the field diaphragm as far as possible.
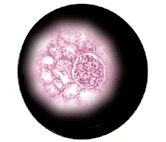
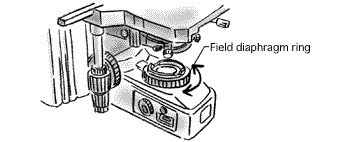
Rotate the field diaphragm ring, till the field diaphragm is as small as possible.
- Focus the field diaphragm image onto the plane of the specimen
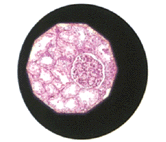
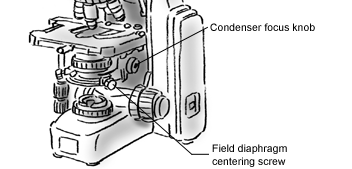
Turn the condenser focus knob until the field diaphragm image is focused on the plane of the specimen. (Both the specimen and field diaphragm image are focused.)
- Move the field diaphragm image to the center of the viewfield.
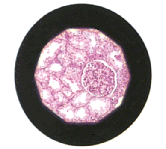
- Change to the 40X objective.
- Adjust the size of the field diaphragm.
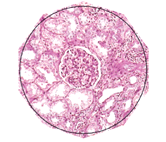
Rotate the field diaphragm ring, until the field diaphragm image is circumscribed by the viewfield.
Observation
Selecting the objective
Rotate the nosepiece and switch to the objective with the desired magnification.
After changing the objective adjust the condenser aperture and field diaphragm to suit the objective.Adjusting the aperture diaphragm
Normally, if the aperture diaphragm is closed to 70-80% of the numerical aperture of the objective then a clear image with reasonable contrast will be obtained. The scale on the condenser aperture diaphragm ring shows numerical aperture (N.A.), so adjust the condenser aperture diaphragm ring in accordance with the scale.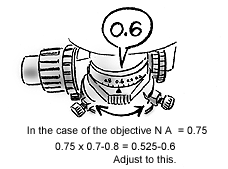
The numerical aperture of every objective is indicated on the side of the objective.
40X/0.65X magnification 40X, numerical aperture 0.65Adjusting the field diaphragm
The field diaphragm restricts the illumination light to the observation area of the specimen. If it is opened more than necessary it will result in reduced contrast due to stray light.
Whenever the objective is changed, rotate the field diaphragm ring and adjust the field diaphragm image so that it is circumscribed by the surrounding field of view.Adjusting the illumination
If the magnification of the objective is increased then the field of view becomes darker. Adjust the illumination with the brightness adjuster as necessary. Note that when the illumination changes the color tone also changes at the same time. If the voltage is turned down, the illumination darkened red tones increase. If the voltage is turned up and illumination increased, then blue tones increase. In order to maintain a specific tone an ND filter is used to adjust the illumination.
Turning off the lamp
Turn off the power switch and the lamp will be turned off.

